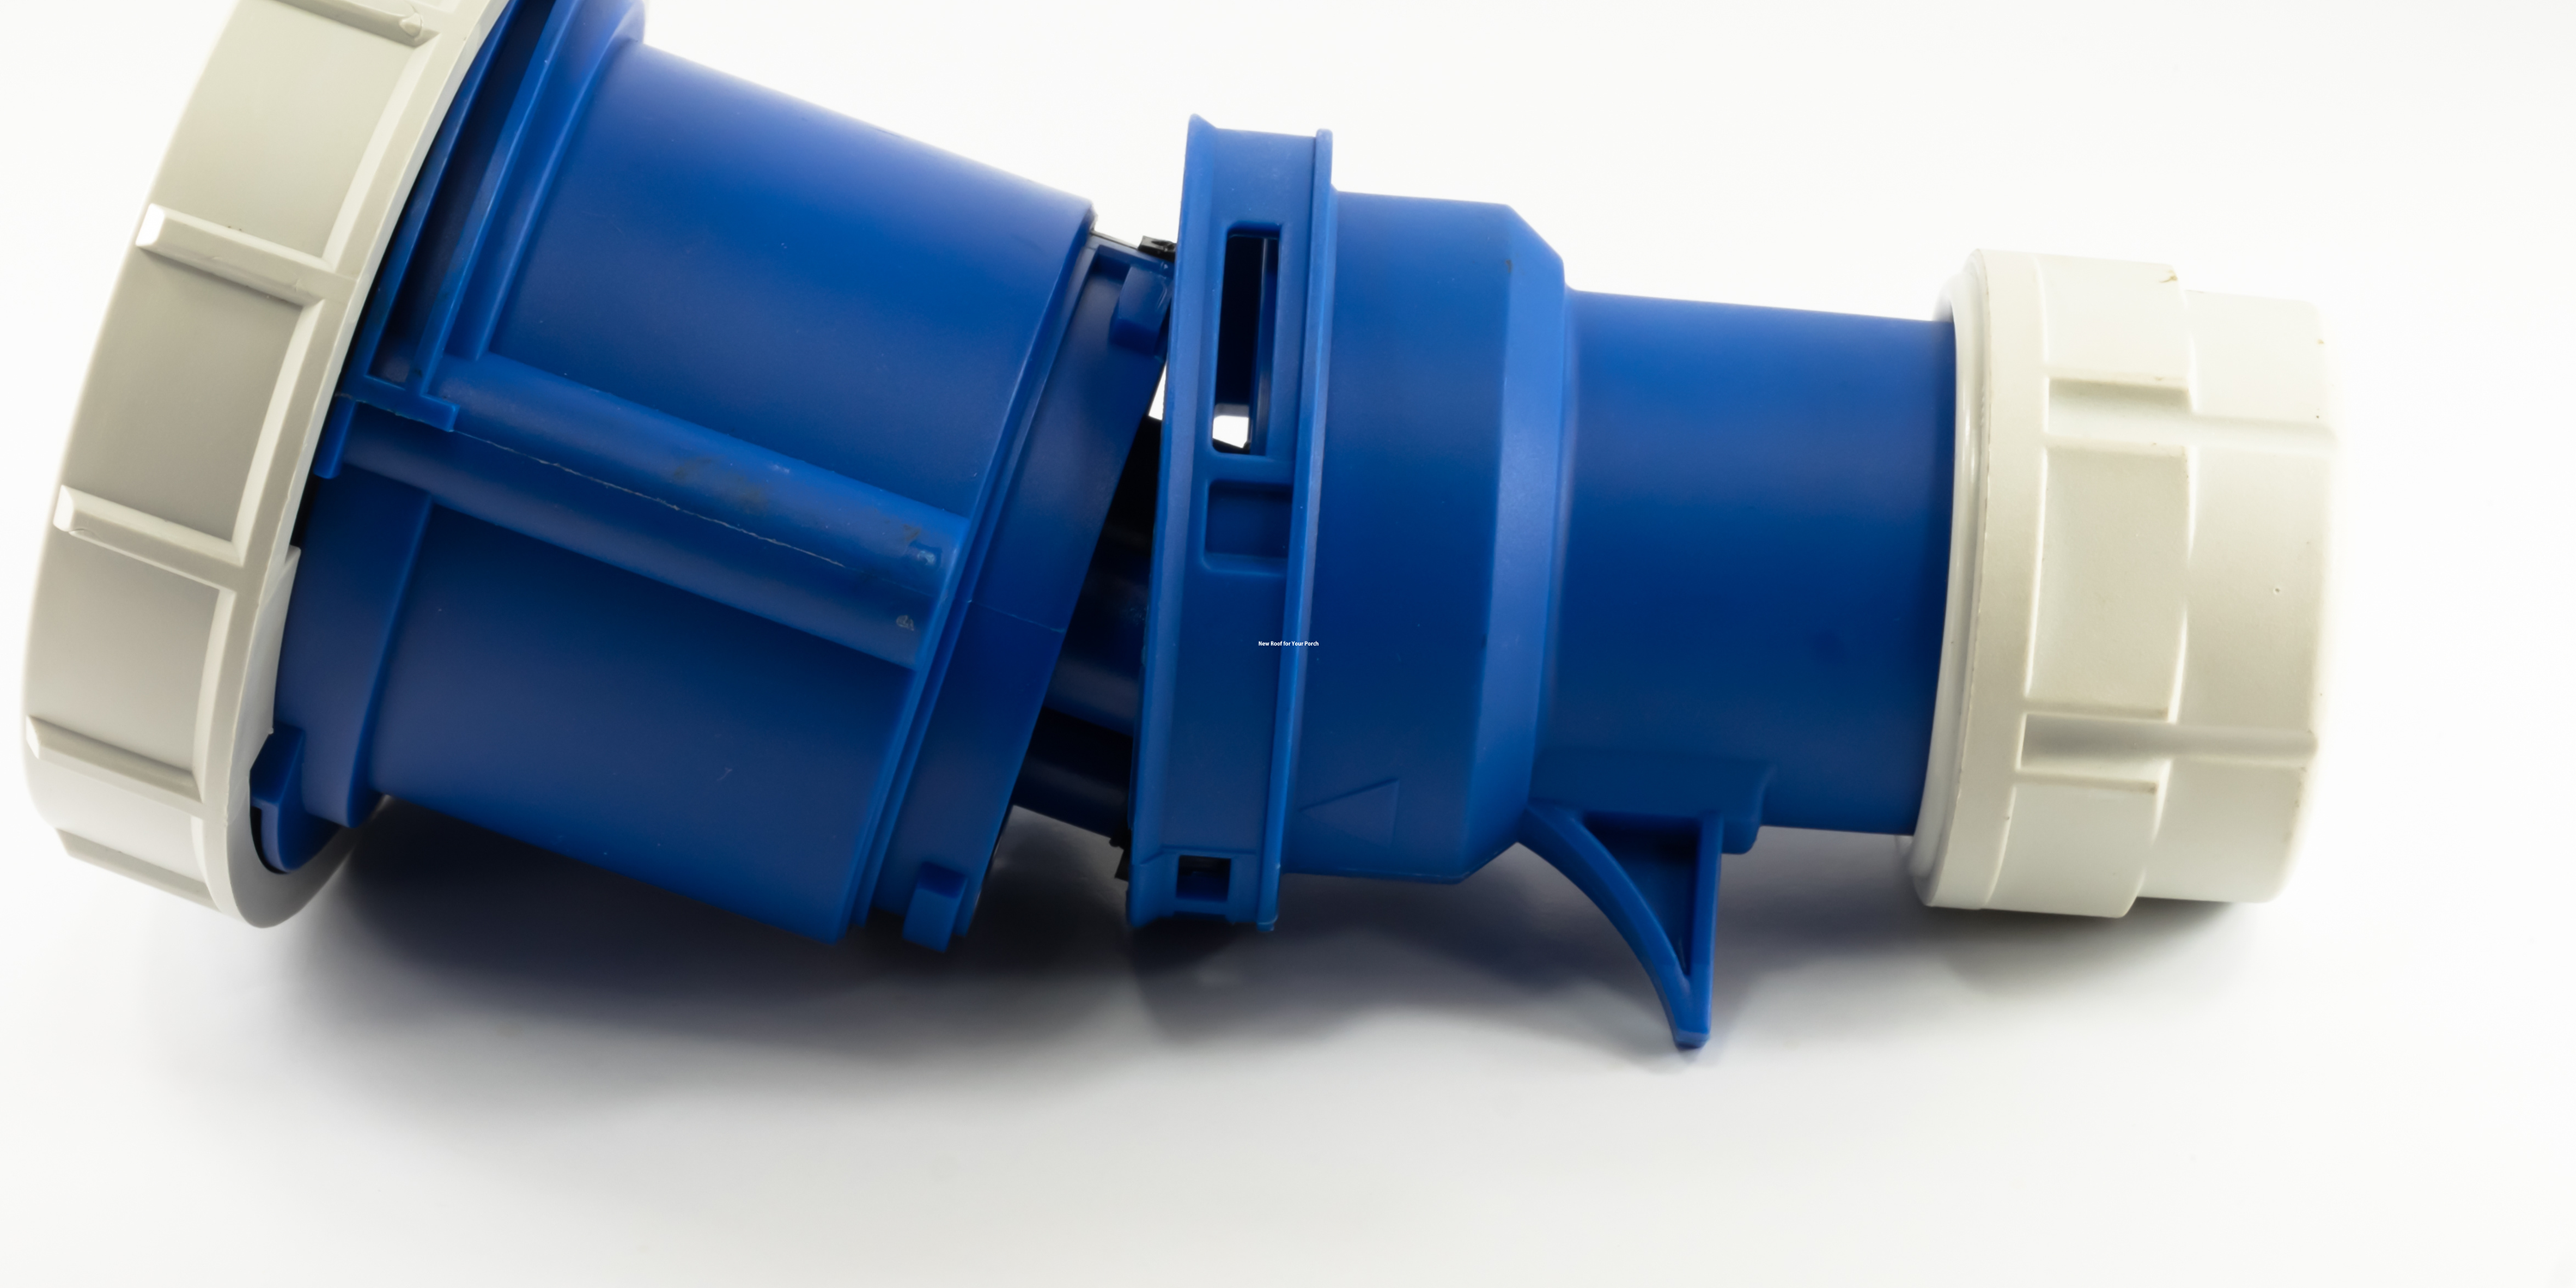

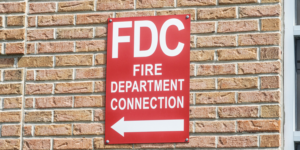
We’ll explain these words if you’re unfamiliar. FDC, or Fire Department Connection, is essential to building fire suppression systems. The plug and cap keep the connection secure and debris-free.
Step-by-step instructions for changing an FDC plug or cap. This guide has all you need for home maintenance DIYers and fire safety professionals.
Understanding FDC Plugs and Caps
FDC plugs and caps are crucial to fire suppression. They safeguard emergency water connection points for firemen. The plug closes the entrance to prevent debris from entering the system when not in use. The cover on top of the outlet prevents water from leaking and protects it.
Remember that FDC plugs and caps come in varied sizes to fit different fire department connections. Before replacing or repairing, make sure you have the right size.
These components are usually composed of brass or aluminum to survive harsh environments and stay functional. They can deteriorate from wear and strain, rain, snow, or unintentional injury.
Early detection of deteriorating plugs and caps requires regular inspection. This will prevent problems in an emergency where seconds matter.
Reasons for Changing an FDC Plug or Cap
Various things can damage or wear out FDC plugs and caps. They’re often replaced due to leakage. Water or moisture leaking through the plug or cap requires replacing.
A loose FDC plug or cap warrants replacement. A loose fitting might jeopardize your fire sprinkler system, putting your house at danger in a fire.
If the plug or cap has fractures, breaks, or missing parts, replace it immediately. Damaged components can impair fire system operation and containment.
Regular maintenance inspections may reveal FDC plug and cap faults requiring replacement. It’s crucial to have trained personnel evaluate your fire prevention equipment regularly to guarantee optimal performance.
Tools and Materials Needed
Changing an FDC plug or cap requires the correct equipment and materials. A successful replacement requires these items:
- Adjustable wrench: Useful for loosening and tightening nuts and bolts.
- Set: Include flathead and Phillips head screwdrivers of various sizes.
- FDC plug or cap replacement: Before commencing the repair, make sure you have a new plug or cap that matches your current one.
- Pipe thread tape, or Teflon tape, seals the new plug or cap.
- Lubricant spray: Loosen stubborn parts.
- Wear gloves and goggles when dealing with plumbing parts.
- Towels or rags: Keep these handy for spills and leaks.
Before starting, assemble these equipment and materials to ensure a seamless replacement operation without interruptions or delays! Be careful when working with plumbing systems.
Step-by-Step Guide to Replacing an FDC Plug or Cap
Get the tools and materials. You need the correct tools to replace an FDC plug or cap. You’ll need a wrench or socket set, depending on your FDC plug or cap size, and any replacement parts.
Step 2: Turn off the water. Turn off the water before making repairs or replacements. Find and close your building’s primary shut-off valve to avoid floods or water damage.
Step 3: Remove the old plug/cap. Carefully loosen and remove the FDC plug or cap with a tool or socket set. Be strong but gentle to avoid thread stripping.
Step 4: Clean and check. Clean away debris around your FDC connection after removing the previous plug or cap. Check for cracks or leaks that may signal system faults.
Fifth, replace the plug or cap. Thread your new FDC plug or cap by hand until it fits snugly against its seat to avoid cross-threading.
These step-by-step instructions will help you change an FDC Plug Cap without any difficulty. Always seek professional advice if you’re unclear on how to continue.
Tips for Maintenance and Care of FDC Plugs and Caps
Properly maintaining FDC plugs and caps ensures their longevity and functionality. Keep them healthy with these tips:
- Regular Cleaning: Dust, grime, and debris can build up on plugs and caps. They should be cleaned routinely with a gentle cloth or brush to remove accumulation.
- Lubrication: Apply a thin layer of silicone grease or lubricant to the plug or cap’s O-ring or sealing surfaces. Water leakage is prevented by this tight seal.
- Inspection: Check FDC plugs and caps for cracks, breakage, and damaged gaskets. Replace them promptly if you discover any faults to avoid emergencies.
- Proper Storage: Keep FDC plugs and caps dry, away from direct sunlight and severe temperatures. This reduces exposure-related degeneration.
- Testing Functionality: Regularly connect your FDC plugs and caps to a hose connection point to ensure a secure fit and no leaks.
Follow these maintenance suggestions to keep your FDC plugs and caps ready when needed! Regular maintenance extends their longevity and keeps them working in emergencies.
Common Mistakes to Avoid
Many people make blunders when changing an FDC plug or cap. Know these mistakes to guarantee a smooth replacement.
Misidentifying the plug or cap for your FDC system is a common mistake. Contact the manufacturer or a professional if you’re unclear about the types and sizes of your system.
Do not change the plug or cap without turning off the water. Accidental flooding might harm your FDC system and other parts of your property.
Replacing an FDC plug or cap requires patience. Cutting corners on cleaning and lubrication might cause leaks and diminished performance.
A typical mistake is not inspecting and maintaining FDC plugs and caps. Due to weather or wear, they may wear out or break. Regular inspections catch faults before they become major ones.
Avoid these blunders while changing an FDC plug or cap to save time, money, and worry and optimize your fire sprinkler system.
Conclusion
FDC plug and cap replacement is easy and can help your fire sprinkler system work properly. Understanding how these components work and following our step-by-step instructions lets you replace them effortlessly.
Use the correct wrench and Teflon tape for the job. Take safety precautions and follow manufacturer or expert guidelines.
FDC plugs and caps need regular maintenance to last. Check them regularly for cracks or rust and fix any problems. This prevents leaks and boosts fire prevention system efficiency.
FDC plug and cap replacement should not involve overtightening or force. Carefully following our step-by-step guide will reduce dangers.
By following these steps, you may safely change an FDC plug or cap and optimize your fire sprinkler system.